
This is a solution to create, compress, and upload local backup files to Amazon S3 using Python. This process not only ensures data safety but also simplifies management and accessibility. Here’s a quick overview of the steps involved:
- Creating a Backup: Use Python to generate a backup of important files.
- Compressing the Backup: Utilize the
tarmodule to compress the backup into a.tar.gzfile. - Uploading to S3: Leverage the
boto3library to upload the compressed file to an S3 bucket for secure storage.
This automation saves time and reduces the risk of data loss. Excited to continue exploring more cloud solutions! Some of the steps that you need to follow
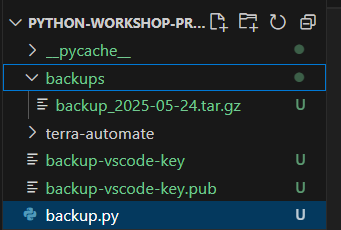
Step 1: Create backup.py file in the terra-automate directory
As you can see in the picture below, tar.gz file has been created in backups directory on VScode using Python
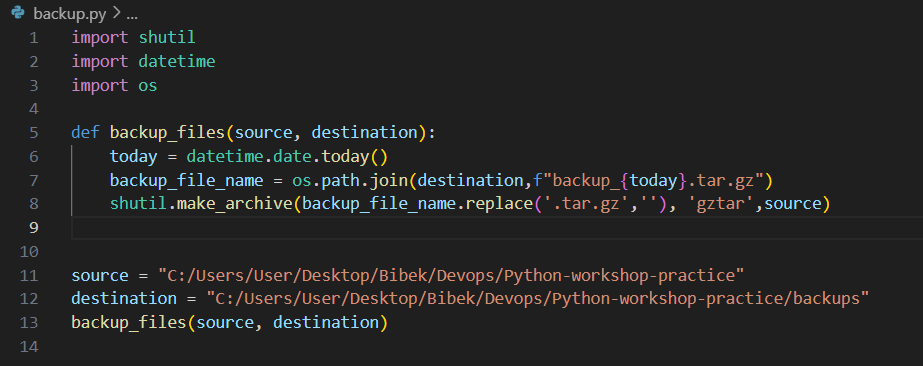
On the backup.py file, import shutil, datetime and os library used.
The shutil module provides a higher-level interface for file operations. It includes functions for copying, moving and removing files and directories.
The datetime module supplies classes for manipulating dates and times. It allows for easy handling of date and time formatting, arithmetic, and comparisons.
The os module provides a way to interact with the operating system. It includes functions to navigate the file system, manage processes, and handle environment variables.
On the backup.py file i have created source and destination path for backup creating file into compress file on todays date.
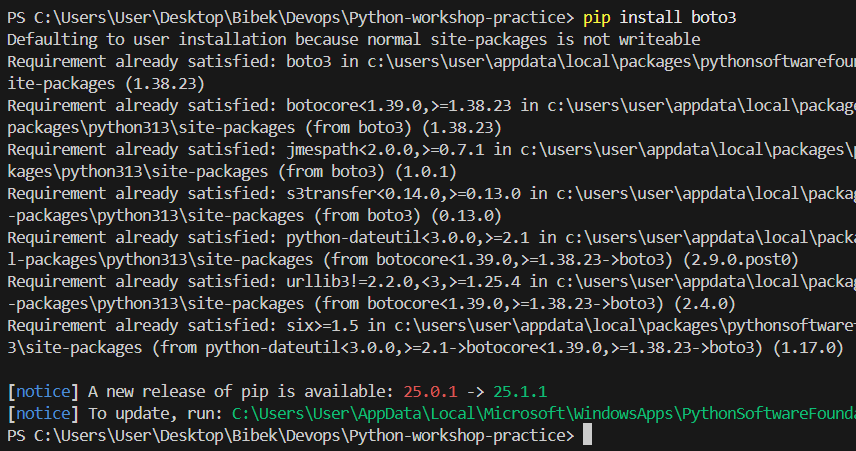
Step 2: Install boto3 in Vs-code
Boto3 is the Amazon Web Services (AWS) Software Development Kit (SDK) for Python. It allows developers to write software that makes use of services like Amazon S3, Amazon EC2, Amazon DynamoDB, and many others. Boto3 provides a simple and efficient way to interact with AWS services using Python.
Why We Need Boto3
- Simplified Interaction: Abstracts complex API calls, providing a user-friendly interface for AWS services.
- Resource Management: Easily create, configure, and manage AWS resources like EC2 and S3.
- Python Integration: Seamlessly integrates with Python applications, allowing cloud features within existing code.
- Wide Service Support: Supports numerous AWS services for versatile application development.
- Ease of Use: Comes with comprehensive documentation and a well-structured API.
- Asynchronous Support: Facilitates non-blocking I/O operations for improved performance.
The command to install boto3 is : pip install boto3
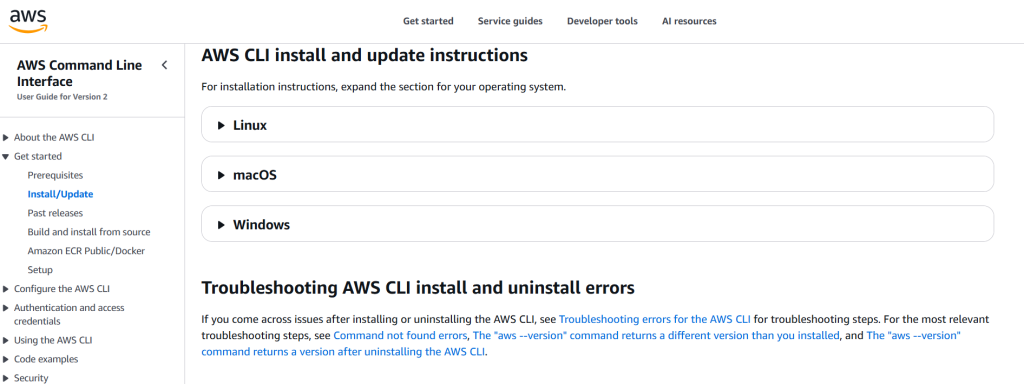
Step 3: Install or update the AWS CLI on Windows
This given link provides the path to install AWS CLI in your operating system. If you have Linux or macOS or Windows, you need to choose according to your operating system to operate AWS CLI. Link: Installing or updating to the latest version of the AWS CLI – AWS Command Line Interface
As i am using Windows therefore i am going to use Windows AWS Command line Interface (AWS CLI) to connect my operating system to my AWS account.
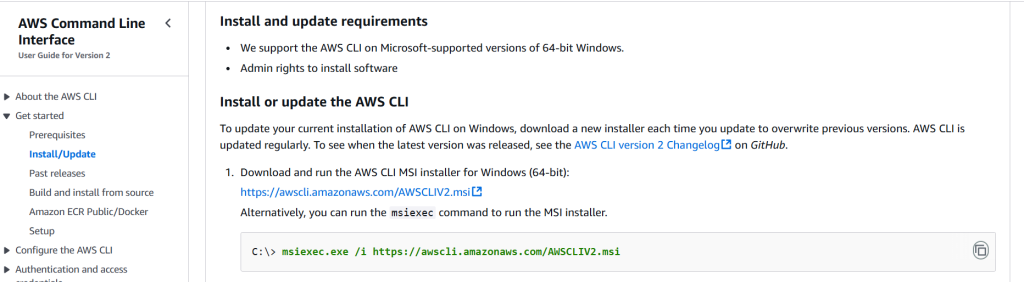
Command: msiexec.exe /i https://awscli.amazonaws.com/AWSCLIV2.msi helps to connect AWS in my Windows terminal.
Step 4 : Create a user and get access key
I have created dev-user as a User providing AdministratorAccess to do task in my account.

Access Key and its password need to use to interlink local terminal with AWS account.


Step 5: Create file aws_s3.py
I have created a s3_backup.py file to show the existing bucket in AWS account and print the name of bucket.


It shows it has been executed. There is no s3 bucket in the list therefore no any name are display.
Step 6: Create one s3 bucket from AWS account to verify
I just created one s3 bucket named s3-backup-bibek from AWS s3 bucket to verify, either its showing buckets on my local terminal or not.


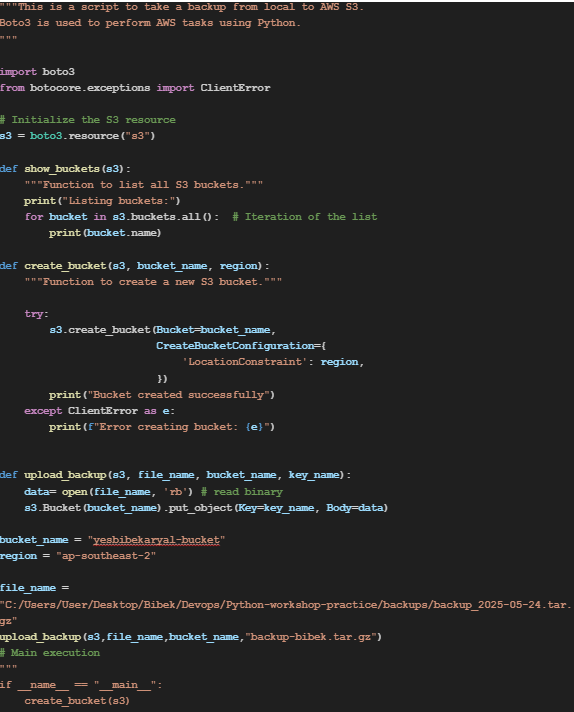
Step 7: Create s3 bucket
The given command is used to show the listed buckets and create new bucket with the name yesbibekaryal-bucket through python code and print its created successfully.

As you can see in below picture that by using tryblock i have listed buckets and created new buckets.

Step 8: Check in AWS s3
This picture is the verification of S3 bucket has been successfully created in AWS account.

Step 9: Upload backup tar file to the bucket
Now its time to write code to upload the given path backup tar file in the default bucket_name listed in ap-southeast-2 region.
Step 10 : To Execute
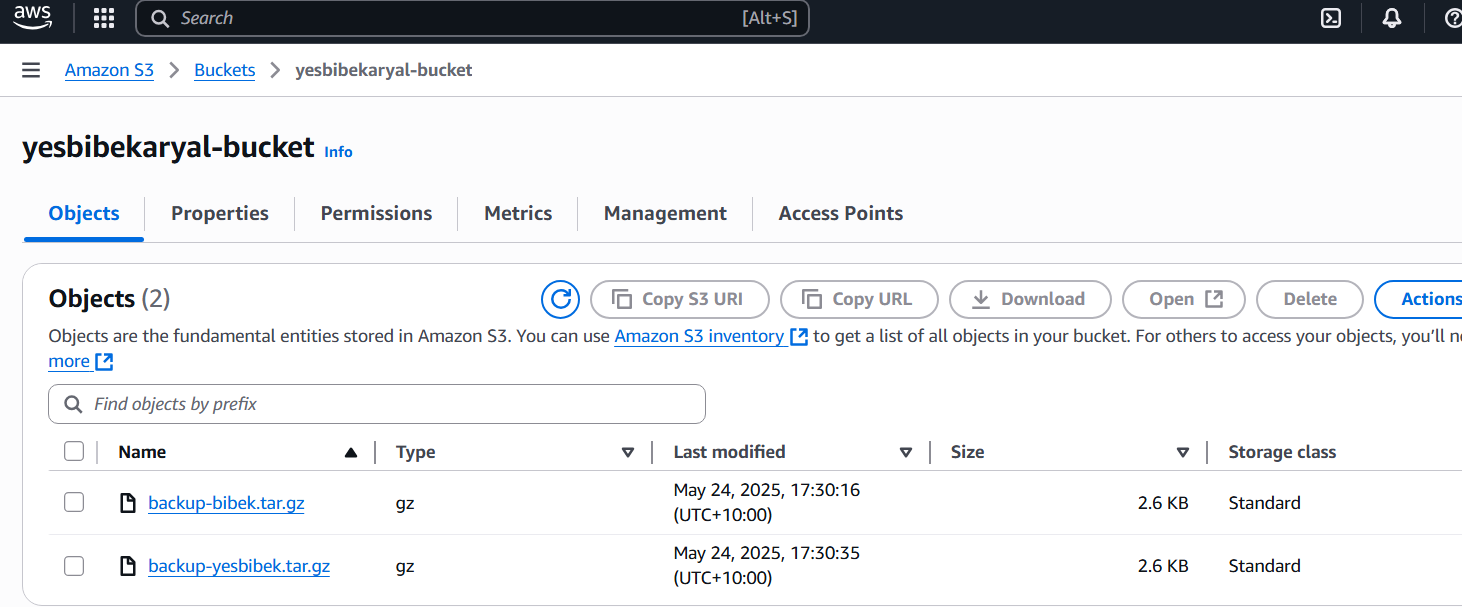
As you can see in the below picture after executing python s2_backup_with_trybolock.py file its provides information that Backup Uploaded Successfully, and you can see in the AWS S3 bucket (yesbibekaryal-bucket) backup tar file has been uploaded.


You can see the backup file to AWS s3 bucket.